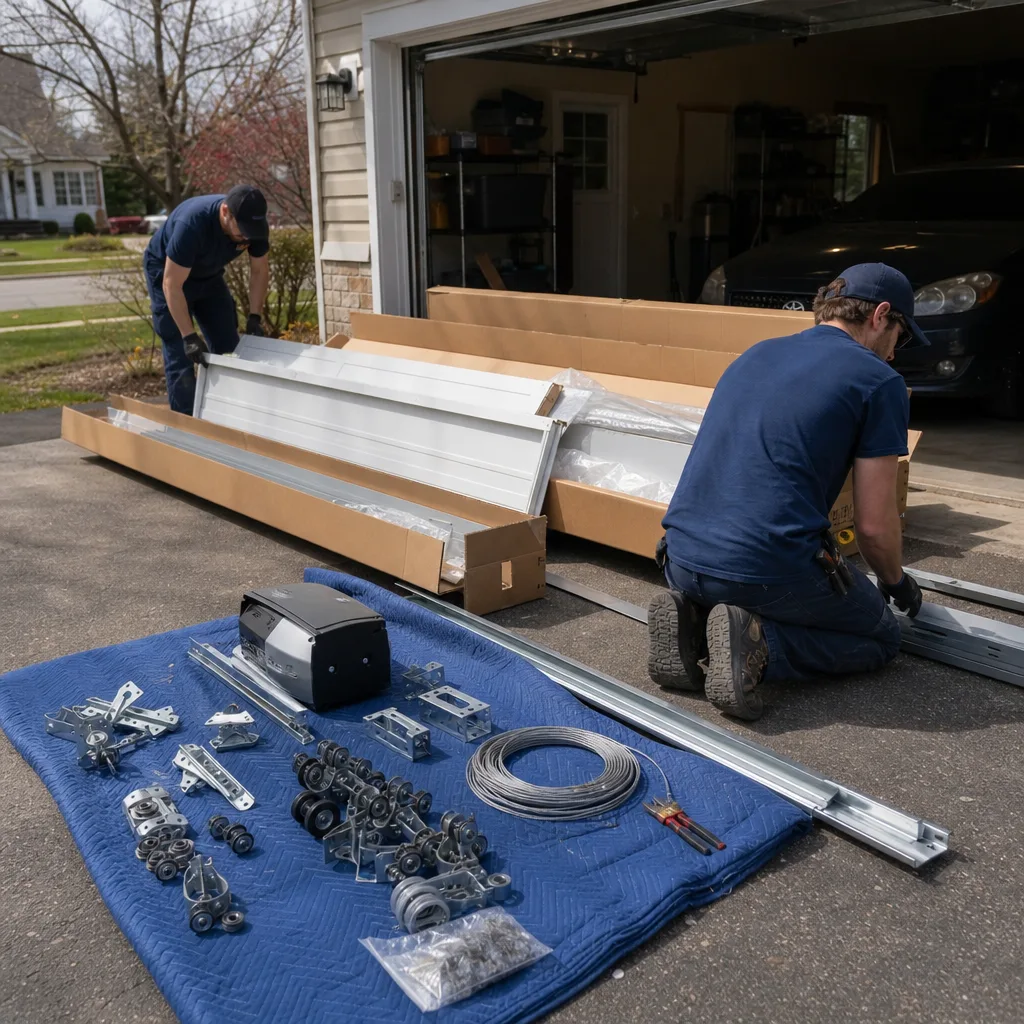
Last updated November 21, 2026
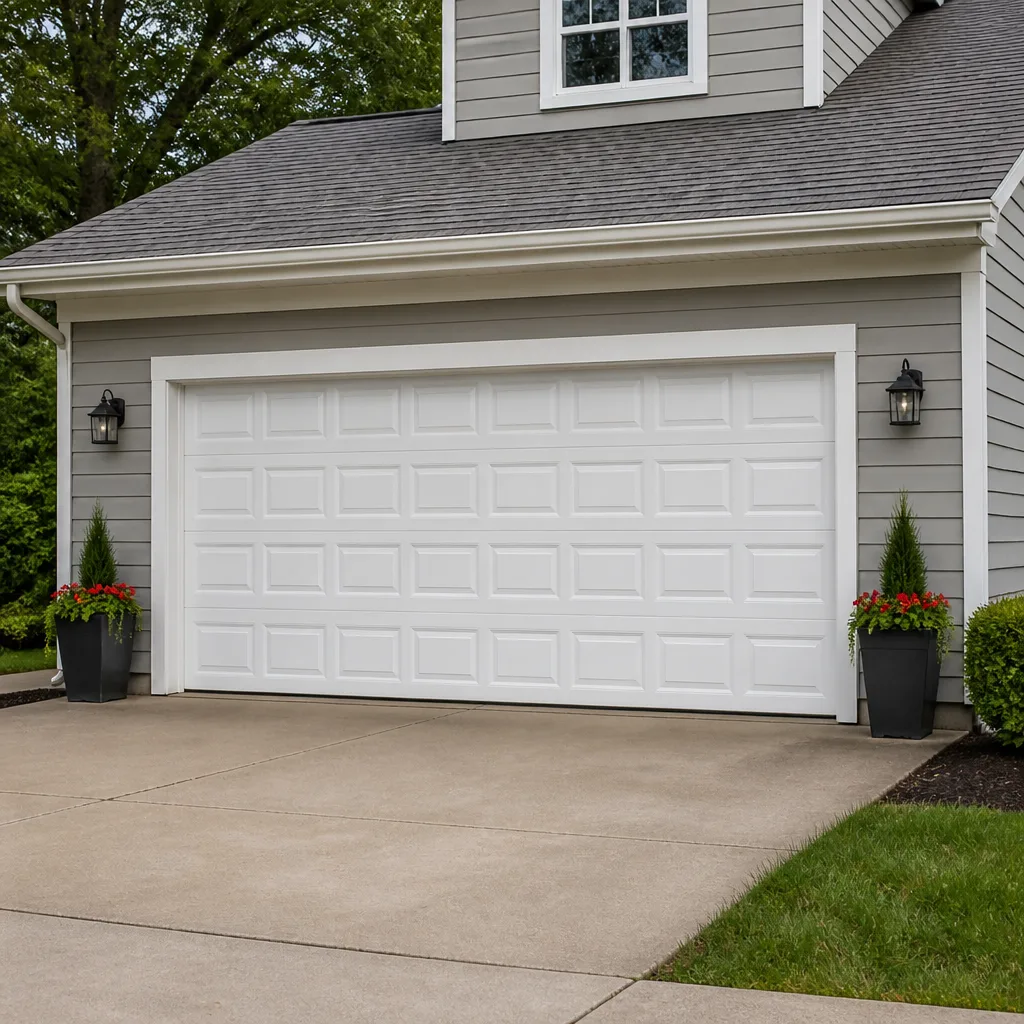 Raised-panel steel
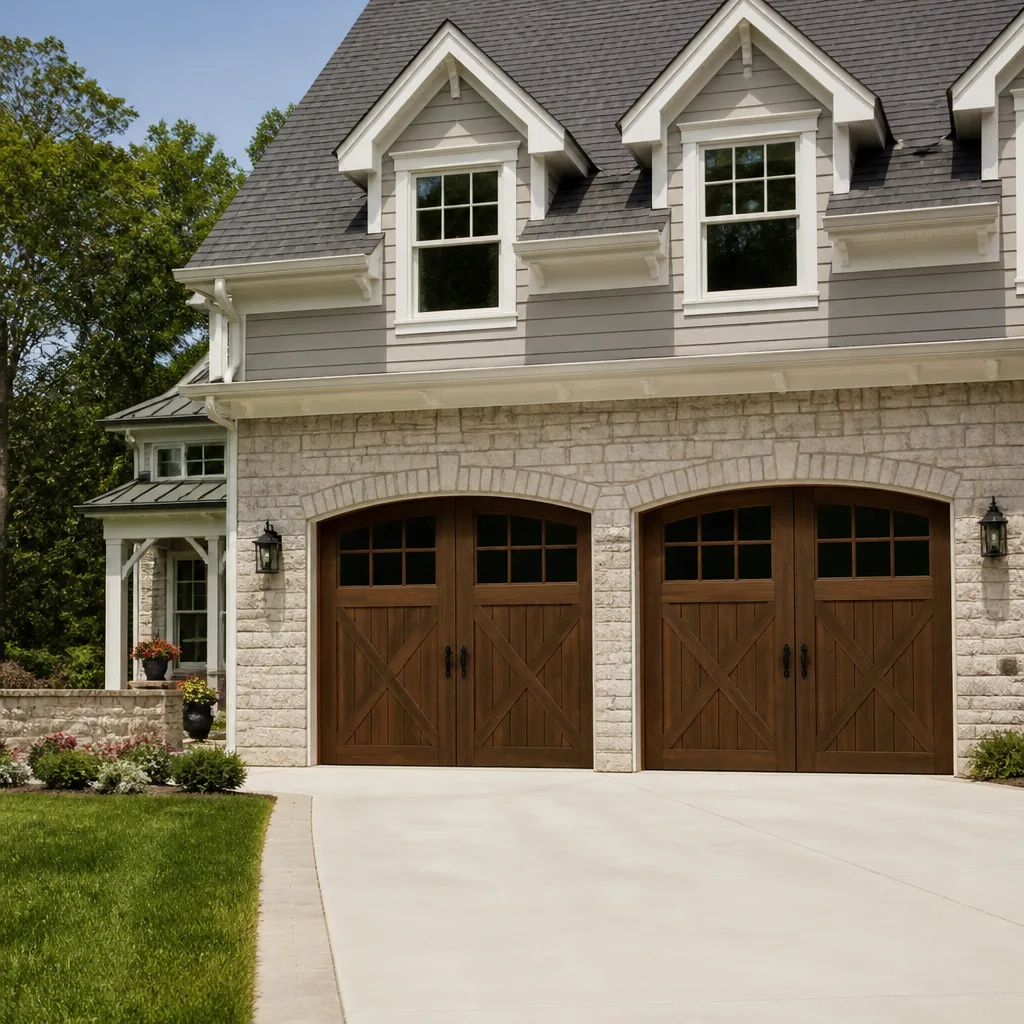 Carriage house
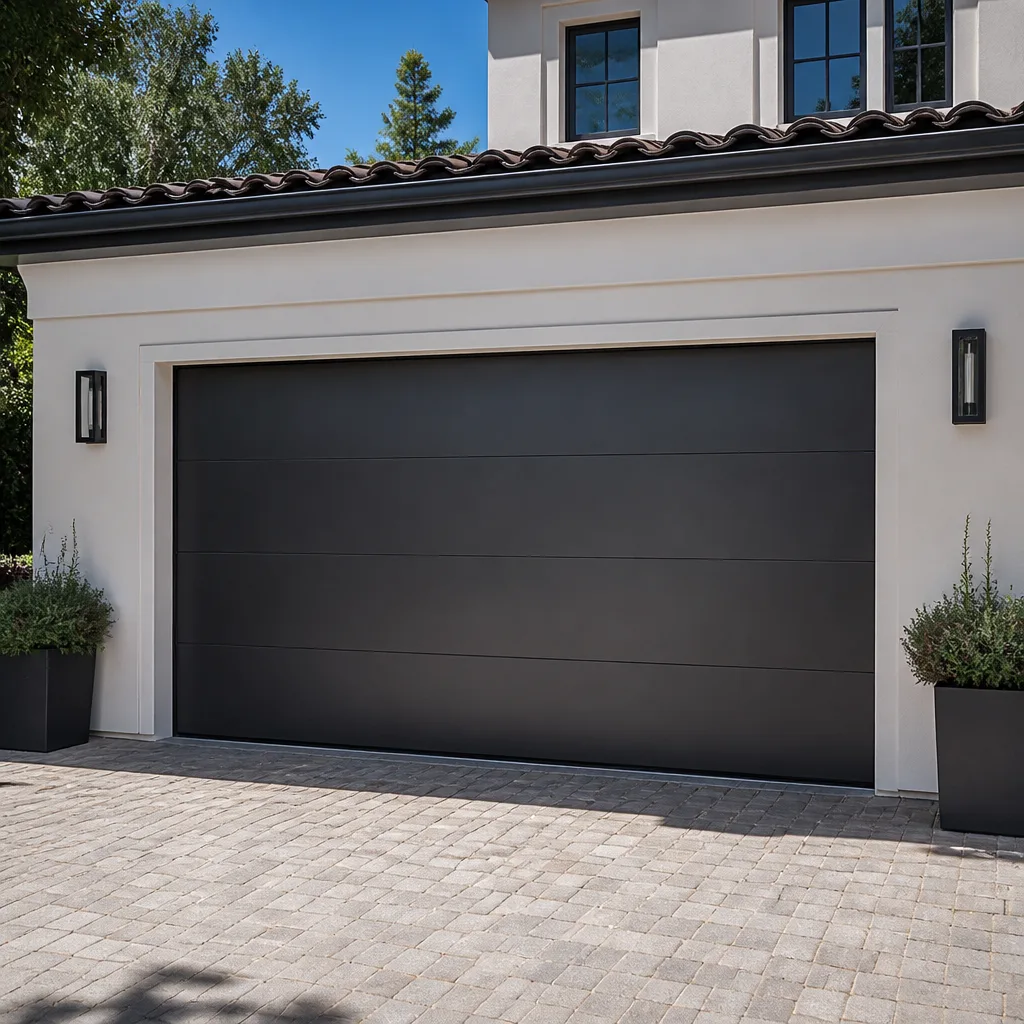 Modern flush
 Full-view glass
 LiftMaster openers
 Chamberlain openers
Full 25-point door and opener safety check with every visit - springs, cables, rollers, tracks, and your LiftMaster or Chamberlain opener included
You get a price before we start. It does not change when the pro arrives.
Get your free estimateGarage Door Repair Maintenance Checklist for Tremont Homeowners
Most maintenance checklists tell you to “lubricate moving parts.” That advice is half a sentence and a whole problem. Here’s what it leaves out: the wrong lubricant does more harm than no lubricant at all. Spray a silicone or WD-40-style product on a torsion spring and you’ll strip the factory oil film and give rust a place to start. It’s one of the most common self-inflicted issues we see on spring service calls in Tremont. This guide fixes that gap. Instead of vague instructions, you get measurable pass/fail criteria for each component on the door: what a healthy spring looks, sounds, and feels like, what a failing one does, and exactly where the DIY line sits. You’ll learn how to run a balance test with real numbers, pick the right lubricant for each part, and set an inspection schedule based on how often your door actually runs. A door that opens the first time, every time, is the result of checking it before it stops.
Quick Answer
A garage door maintenance checklist for Tremont homeowners covers six core checks: spring condition, roller wear, hinge and fastener tightness, track alignment, cable and drum inspection, and balance. You can safely handle lubrication, visual inspection, and the balance test yourself. Springs, cables, and torsion hardware are high-tension components and belong to a trained technician. Inspect monthly by eye and ear, lubricate every few months based on usage, and book a professional tune-up once a year.
Styles & brands we work with
- Raised-panel steel
- Carriage house
- Modern flush
- Full-view glass
- LiftMaster openers
- Chamberlain openers
Table of Contents
- Why Most Maintenance Checklists Fall Short
- Pass/Fail Criteria for Each Component
- The Right Lubricant for Each Part (and What to Avoid)
- How to Run the Balance Test
- How Often to Inspect, Based on Daily Usage
- What’s DIY-Safe and What Needs a Technician
- Tremont Climate and Seasonal Timing
- Common Mistakes to Avoid
- When to Call a Professional
Why Most Maintenance Checklists Fall Short
A published checklist that says “check the springs” and stops there isn’t a checklist. It’s a category. The homeowner reads it, walks out to the garage, looks at the springs, decides they “look fine,” and goes back inside. Six months later the door won’t lift. The instruction failed not because the homeowner was careless, but because “look fine” isn’t a test.
What’s missing is a pass/fail line. A real maintenance item tells you the exact thing to look at, the exact range or condition that counts as passing, and the specific sign that means fail. For example: “spring looks intact” is not a criterion. “Spring has no visible gap wider than a hairline, no rust bloom at the coil ends, and the door lifts with one hand” is a criterion. One of those sentences lets you make a decision. The other wastes your Saturday morning in Tremont.
We wrote this checklist because the same gap shows up on service calls. Homeowners who love their house and keep up with maintenance still can’t tell the difference between a normal creak and a worn hinge, or a stretched spring and a broken one. That’s not a knowledge problem, it’s a formatting problem. The information exists, just not in a form anyone can use.
Here’s what this guide does differently. Every inspection point has a stated pass condition, a stated fail condition, and a mechanical reason so you understand why it matters. You’ll know exactly where a check ends and a repair begins. By the end, you’ll have a routine you can run with a flashlight, a rag, and about ten minutes.
Pass/Fail Criteria for Each Component
Six components carry almost all of a garage door’s risk and wear. Here’s how to evaluate each one with a clear pass line.
1. Torsion springs (the assembly above the door)
- Pass: Spring coils sit tight to each other with no more than a hairline gap between wraps. No rust bloom at the coil ends or the cones. The door opens smoothly by hand (if you’re doing a manual test, described below).
- Fail: A visible gap wider than the width of a coin between wraps. A rusty red tint at the coil. Spring looks “unwound” or sagging. Any loud bang you heard from the garage followed by the door not lifting is a fail; leave the door down and call a technician.
- Why it matters: A torsion spring is under enormous tension when it’s wound. Once it begins to stretch or corrode, the failure is sudden and loud, not gradual. Visual sign of early wear is your only warning.
2. Extension springs (if your door uses side-mounted springs)
- Pass: Spring is straight, not bowed or stretched past its original length. Safety cable runs through the center of the spring and is intact.
- Fail: Spring visibly longer than its mate on the opposite side. Any bend that doesn’t relax when the door is fully closed. Missing or severed safety cable.
3. Rollers (the wheels inside the track)
- Pass: Rollers are round, smooth, and spin freely inside their housing. No flat spots. No visible cracks in the nylon or wheel body.
- Fail: Flat spot on the rolling surface, cracked housing, or roller that won’t turn by hand. A door that thumps once per revolution is a worn roller, not a track problem.
4. Hinges and fasteners
- Pass: Hinges flex without binding, screws are snug, no rust around the hinge plate. The door swings from panel to panel without catching.
- Fail: Loose screws (you can turn them by hand with a screwdriver with zero resistance), hinge pin that’s come out of alignment, cracks at any hinge attachment point.
5. Tracks
- Pass: Vertical and horizontal tracks are straight and parallel. The gap between left and right track is constant from bottom to top. No dents, no bends, no debris inside the channel.
- Fail: Visible bow or kink in either track. Door rubs on one side. Roller pops out of the channel at any point during travel.
6. Cables and drums
- Pass: Cables are taut, evenly wound on the drums, with no fraying or broken strands. Both cables tensioned at the same point on their drum.
- Fail: Frayed, kinked, or slack cable. Uneven winding left versus right. Any cable that has come off the drum.
If any item fails on this list, do not force the door. A door that rubs, hangs, or binds can swing off the track and take a panel with it. The fixes for a failing spring or cable aren’t a homeowner job; the fixes for a worn roller or loose hinge usually are.
The Right Lubricant for Each Part (and What to Avoid)
Lubricant choice matters more than the frequency of application. Household oils were not designed for garage doors, and some of them quietly cause damage.
- Springs: A small amount of a lithium grease or a purpose-made spring lubricant. Never use WD-40 or a silicone spray on a torsion spring. Those products are designed to displace oil, not add it, and they can strip whatever protective film is left on the coils. On torsion springs in Tremont, we see more damage from the wrong spray than from neglect.
- Rollers: Light oil on the metal stem of the roller, not the head. Roller bearing stems are the point that actually needs lube; the wheel face doesn’t.
- Hinges: A few drops of a light oil or a white lithium grease at the pin. Wipe off the excess so dust doesn’t collect.
- Tracks: Nothing. Leave the tracks clean and dry. Any lubricant applied to a track will attract grit and eventually bind the rollers. Clean with a damp rag and dry fully.
- Opener chain or screw: A small amount of the lubricant the opener manufacturer specifies. Most openers have this in the manual or printed on the unit itself.
What to avoid, specifically:
- WD-40 on springs, cables, or hinges. It’s a water displacer, not a long-term lubricant, and it can dry out the protective film.
- Silicone spray on anything that slides under load. Silicone is fine for door seals and weatherstripping, not for load-bearing metal.
- Graphite powder. It works on some locks and cylinders but collects in the coils and hinges of a garage door and creates a grinding paste.
- Anything labeled “penetrating oil” as a maintenance product. Penetrating oils serve a specific purpose but don’t provide long-term lubrication.
If you’re unsure which product is right for a specific part, our technicians can tell you on a routine visit. We keep standard lubricants in use across Amarr and Wayne Dalton door systems and openers from LiftMaster and Chamberlain during tune-ups, so the manufacturer-specified choices get used rather than a generic one.
How to Run the Balance Test
A balance test tells you whether the torsion spring is still doing its share of the lifting. If it isn’t, the opener is doing the spring’s work, and that’s what shortens the opener’s life and eventually strips a gear or burns out the motor.
Here’s the procedure, with pass criteria at each step.
- Close the door fully and disconnect the opener. Pull the manual release cord to free the door from the motor. The door should be latch-free and on the manual track.
- Lift the door by hand to about waist height. Use both hands and lift smoothly. If the door feels disproportionately heavy, stop. Don’t force it.
- Bring the door to half-open and let go. The door should hold at this position, or drift less than a few inches on its own before settling. That’s a pass.
- Try a second position at about a third open. Same test. If the door drops, it’s a fail on the “too heavy” side. If the door rises on its own, it’s a fail on the “spring too strong” side.
- Look for sideways drift. If the door sits visibly crooked when released at half-open, one side is carrying more load. That points to a damaged spring, a stretched cable, or a bad drum on that side.
- Reconnect the opener. Only re-engage the release if the door passed the manual test. A door that fails should stay disconnected and stay closed until a technician sees it.
The pass window: a correctly balanced door holds position at the half-open point and at the one-third point with no more than a couple of inches of drift. That’s the number to remember. If the door drops more than a few inches from the half-open position, the spring has lost tension and needs adjustment or replacement. If it rises on its own from the same position, the spring is over-wound. Either condition overloads the opener or puts strain on the door panels.
What this test does not tell you: whether the spring is close to failing. A door can pass a balance test with a spring that’s about to snap. The balance test is a mechanical check; the visual inspection for gap and rust is the durability check. Run both.
How Often to Inspect, Based on Daily Usage
Calendar schedules are a shortcut, not a measurement. A door that runs eight times a day wears out at four times the rate of a door that runs twice. Here’s a schedule keyed to actual use.
- Light use (1-2 cycles a day, i.e. leave in the morning and back at night): Visual inspection every two months, full balance test every six months, professional tune-up annually.
- Normal use (3-5 cycles a day, i.e. home with a household that comes and goes, errands, deliveries): Visual inspection monthly, balance test every three months, professional tune-up annually.
- Heavy use (6-10 cycles a day, i.e. a home office with deliveries, kids in and out, multiple vehicles): Visual inspection every two weeks, balance test every two months, professional tune-up twice a year.
- Very heavy use (10+ cycles a day, i.e. a home business, or a door that’s the primary entry every time): Visual inspection weekly, balance test monthly, and a professional tune-up every six months. At this rate of use, expect spring replacement earlier than the standard interval.
The point of the schedule: don’t wait for a failure to trigger maintenance. Almost every garage door repair we run in Tremont starts with a homeowner who said “I usually check it a couple times a year” and then found a problem that had been growing for months. The heavier the door is used, the less calendar time you have between inspections.
Two additional triggers that override the calendar:
- Any change in sound. A new creak, groan, or pop that wasn’t there before means the schedule moves up.
- Any change in feel. If the door suddenly lifts differently, or the opener has to work noticeably harder, run a full inspection immediately.
What’s DIY-Safe and What Needs a Technician
The most useful line on any maintenance checklist tells you what not to do yourself. On a garage door, that line runs right through the springs and cables.
DIY-safe items
- Lubrication. Steering a rag and a couple of drops on hinges and roller stems doesn’t involve releasing tension.
- Visual inspection. Looking at springs, cables, rollers, and tracks from a safe distance, with the door closed, carries no mechanical risk.
- Balance test. A manual lift with the door disconnected is safe as long as you stop when it feels heavy or the door is drifting. The risk here is deciding to proceed when a door fails the test, not the test itself.
- Roller replacement. A worn roller can be changed with the door down and the opener disengaged. The old wheel slides out of its housing and a new one slides in.
- Hinge tightening. Snugging screws with a hand screwdriver is fine. Anything requiring more force than that needs a closer look.
- Weatherstripping replacement. Cosmetic and mechanical, no tension involved.
- Track cleaning. A damp rag and a dry cloth. Never lubricant.
Technician-only items
- Torsion spring replacement and adjustment. The winding cones hold tension that can release with enough force to cause serious injury. There is no safe homeowner method for winding or unwinding a torsion spring. This is where trained technicians use two steel winding bars and a specific sequence.
- Extension spring replacement. Slightly less dangerous than torsion but still under significant load at full extension. Safety cables exist precisely because extension springs can come loose violently.
- Cable replacement and tensioning. A cable under tension can snap, and the drum side requires specific winding. Cables are what keep the door from falling.
- Track realignment after a major bend. Straightening a bent track isn’t hard, but a door off its tracks can swing unexpectedly when reattached.
- Opener replacement, board replacement, or troubleshooting. Line voltage at the opener is 120V. Diagnosis and repair belong to someone trained on the specific opener, whether it’s a LiftMaster, a Chamberlain, or a Craftsman unit.
- Panel replacement on a damaged door. Removing a panel means removing load from the door and springs; the door must be rebalanced afterward.
The mechanical reason behind the split: anything that stores energy (springs, cables, torsion drums) or carries line voltage (opener wiring) can harm a homeowner who doesn’t handle it every day. Everything else is mechanical wear at rest, which is safe to inspect and replace.
If you’re not sure which category a problem falls into, that’s a good reason to call. We handle garage door repair for every category in this section, and a phone call costs nothing while a wrong guess can cost a lot.
Tremont Climate and Seasonal Timing
Garage doors in Tremont see a real seasonal split: hot, humid summers and cold, road-salt winters. Each season asks something different of the door.
Summer humidity is the slow-wear season. Metal coils sweat, hinges pick up rust, wood and composite panels swell. The pass criteria that matter most in July and August are the ones about rust bloom on spring ends and about hinge plate discoloration. A hinge that develops surface rust in summer will bind in winter, and a rusted coil end is where a spring tends to fail. Inspect for rust as part of every summer check and wipe down fasteners that show a red or orange tint. If rust is present on a load-bearing component, that’s a fail, not a cosmetic nuisance.
Winter is the load season. Thermal contraction of metal, road salt tracked into the garage, and the door doing more work per day after a cold snap all put stress on the system. In our experience, most spring failures in Tremont present during the first cold snap: the door ran fine all summer, then a 30-degree morning drops it. This is where the balance test earns its keep. A door that passed the balance test in September and fails it in December was already on its way out. Had the balance test been run in October, you’d have caught it before the morning it wouldn’t open.
What we’d schedule: a thorough visual inspection and balance test in early fall, before the coldest weeks, and a second pass in late spring. That gets you ahead of both ends. Any time you’re planning a heavier use pattern (a new driver in the household, more deliveries to the address) is also a good moment to re-run the manual test.
Brand-specific nuance: doors installed with Amarr or Clopay steel panels handle Tremont winters well as long as the torsion springs are within range. Wood-faced and composite doors need a closer eye on the panel face and bottom seal during the freeze-thaw cycle. The checklist above applies to both, but the timing shifts. Steel doors want their check right before winter; wood and composite doors want theirs right before the wet season and again before winter.
If you’re going to be out of town for a stretch during the coldest weeks, don’t leave the door’s maintenance to the last day. A door that runs smoothly for a household that comes and goes all day may not lift at all after two weeks of sitting in the cold. It’s a small thing to run the balance test before you leave; it’s a bigger thing to come home to a door that won’t open.
Common Mistakes to Avoid
- Spraying WD-40 on the springs. It strips the coil’s protective film and invites rust, which is exactly what a failing Tremont spring looks like in the early stages. Use a lithium or spring-specific grease.
- Lubricating the tracks. A lubed track collects grit and eventually binds rollers. Tracks stay clean and dry. Grease belongs on hinges, roller stems, and springs, never on the rail the rollers travel in.
- Skipping the balance test in favor of “it looks fine.” The balance test is the only check that tells you whether the springs are still carrying their share. Skipping it means you discover a spring problem the morning it snaps instead of months earlier.
- Assuming the opener is the problem when the door won’t lift. Nearly every “the opener is dying” call we get traces back to a spring or a worn roller. The opener is trying to lift a door that no longer lifts freely. Diagnose the door first, then the opener.
- Setting the schedule by calendar only. A household with six cycles a day needs faster inspection intervals than one with two. The calendar is a starting point, not a rule.
- Forcing a stuck door with the opener. If the door doesn’t lift on the first try with the wall button, stop. Repeatedly cycling a stuck door strips the opener gear and can swing the door off its track. Disconnect and diagnose by hand.
- Releasing a door mid-procedure without re-engaging the opener. After any manual balance test, re-engage the release so the opener tracks the door’s position. A door operated with the release pulled can slam.
- Treating rust as cosmetic. On a hinge plate it’s cosmetic. On a spring coil end or a cable it’s a fail. The difference is whether the part carries load.
- Waiting for a “loud noise” as the signal. The loud noise is the failure, not the warning. The warning is a stretched spring, a rusty coil end, a door that thumps once per revolution, or a balance test that no longer holds. Check for those on the schedule, not after the bang.
When to Call a Professional
Call a professional the moment any of these appear:
- The door doesn’t lift by hand at all, or lifts with noticeable resistance.
- You see a gap between spring coils wider than a coin.
- A cable is frayed, slack, or off its drum.
- You heard a loud bang from the garage and the door stopped moving.
- The door is visibly crooked when half-open.
- A track is bent or the door has come out of its channel.
- The door drifts up on its own during a balance test, which means the spring is over-wound.
- Anything involving the opener’s electrical board or a repeated breaker trip.
None of these are “wait and see” items. Each one has a window where a small repair stays small, and past that window the cost goes up. If you’re in that window now, call (855) 337-1175 and we’ll get a technician out to look at it. We offer free estimates in Tremont, and the written quote is the price – the price doesn’t move once we see the job in person. For reference, a single spring replacement typically runs $180-$340 in the current market, and a matched pair is roughly double since both springs usually age on the same schedule. Roller replacement is on the low end of that range. Same-day service is available for repair and emergency calls; installation and full replacement are measured, ordered, and scheduled.
Emergency service is available when a door won’t open or close, including outside standard business hours. When the door won’t move, we move fast. We also handle garage door opener repair for LiftMaster, Chamberlain, Genie, and Craftsman systems when the opener itself is the problem and not the door.
Frequently Asked Questions
A single torsion spring replacement typically runs $180-$340 in Tremont, and a matched pair is roughly double that since both springs are usually replaced together. The written estimate sets the final price, and estimates are free. Call (855) 337-1175 for an exact quote.
Yes, as long as you use the right product: a lithium or spring-specific grease applied sparingly to the coils, with the door closed and the opener disengaged. Do not use WD-40 or silicone spray on torsion springs – those strip the factory film and accelerate corrosion. If you’re not sure what’s already on the spring, ask a technician before applying anything.
Look for three signals: a gap between coil wraps wider than a coin, rust bloom at the coil ends, and a door that no longer holds position during a balance test at the half-open point. Any of those three means the spring is on its way out. Call a technician rather than waiting for the failure. The break is sudden and loud.
No. The price you’re quoted before work starts is the price you pay. If additional issues come up during diagnosis, the technician explains them and quotes them separately before any additional work begins. You decide whether to proceed. Estimates are free.
The local professionals we connect you with are vetted and carry the licensing and insurance their state requires. Our technicians have up to 12 years of experience working on systems from major brands including Amarr, Wayne Dalton, Craftsman, and Raynor, as well as LiftMaster and Chamberlain openers. Call (855) 337-1175 with any specific questions about credentials before the visit.
Once a year for light and normal use, twice a year for heavy use, and every six months for very heavy use (10+ open and close cycles a day). A professional tune-up covers the checks that aren’t DIY-safe: spring tension, cable inspection, and opener calibration. Between visits, run the visual check and balance test yourself on the schedule above.
Yes. A bent track is repairable or replaceable depending on how far the bend extends. If the door has come fully off its tracks, we don’t recommend operating it until a technician re-seats it. Re-attaching a door that’s off its channel without removing the load first is where secondary damage happens. Call (855) 337-1175 and we’ll get a technician out to look at it.
The Bottom Line
Maintenance checklists save money when they include pass/fail criteria. When they don’t, they’re just a list of categories to glance at. The three real signals that a Tremont garage door needs attention are a spring coil gap, a rusty coil end, and a balance test that no longer holds at the half-open point. Handle lubrication and visual inspection yourself on the usage-based schedule above. Leave torsion springs, cables, and opener electrical work to a trained technician – those components carry stored energy or line voltage and aren’t a homeowner’s job. If any of the fail signals show up, or if you’d rather have eyes on the door than guess, we can take a look. Garage Door Repair Tremont covers repair, opener service, spring replacement, and new door installation across all major brands, and we’re here whenever the door stops working. Call (855) 337-1175 for a free estimate, or visit Garage Door Repair Tremont to see what else we handle. For a brand-new door rather than a repair, see our garage door installation page for what a full replacement involves in Tremont.
Written by the team at Garage Door Repair Tremont.
See the difference
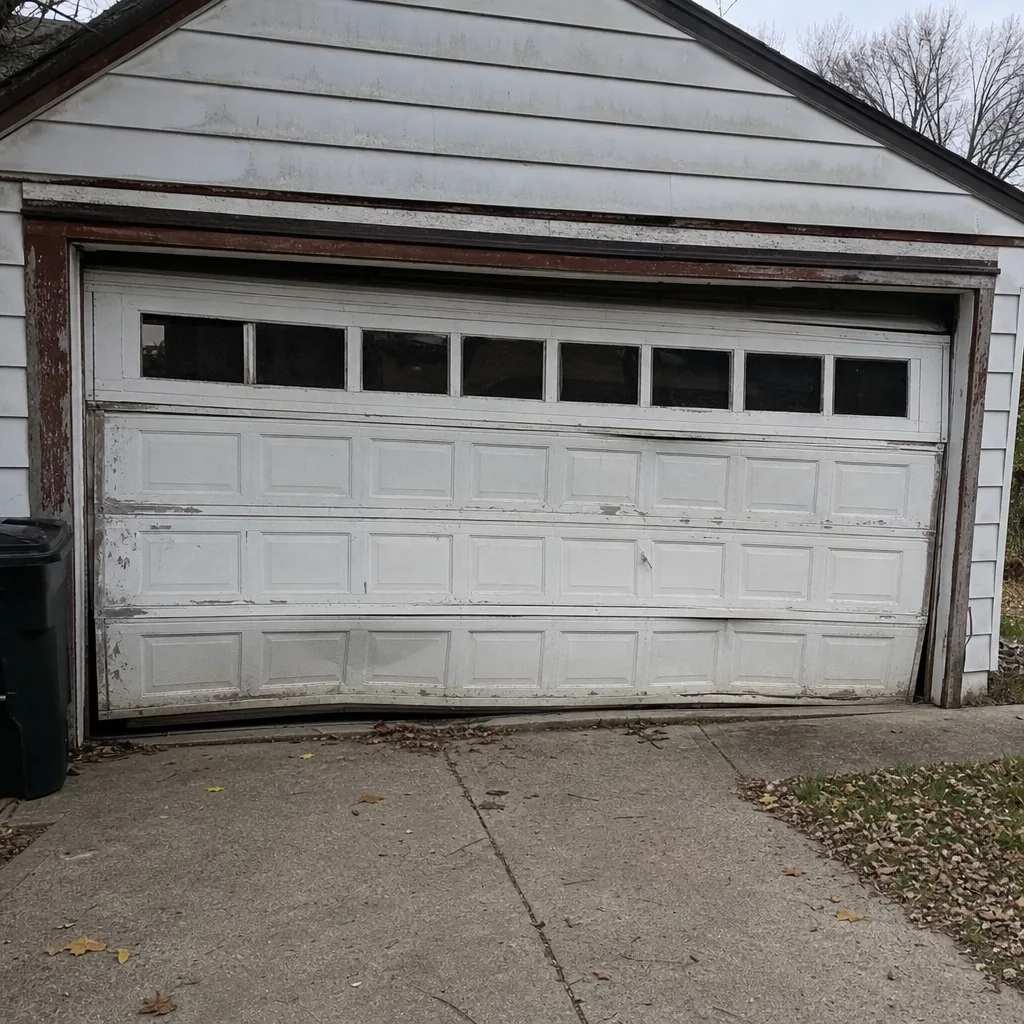 Before
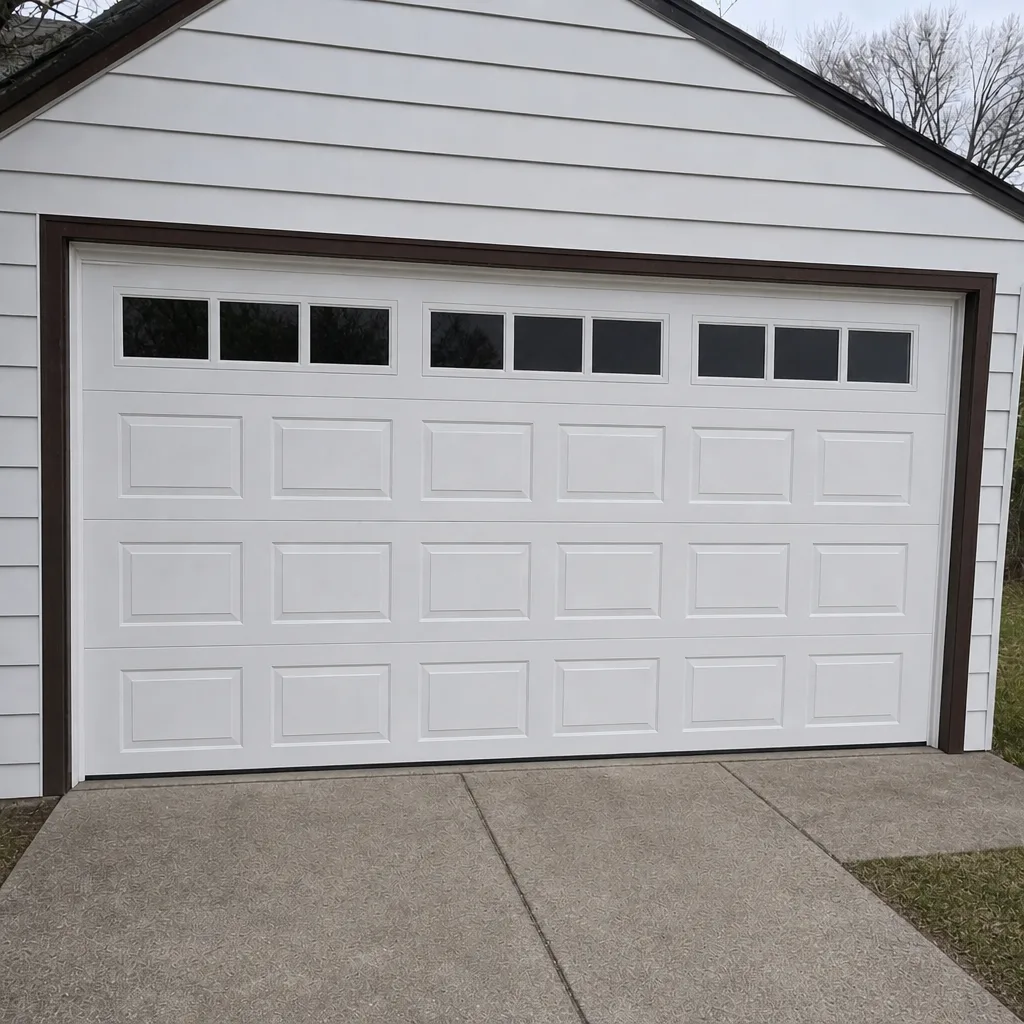 After
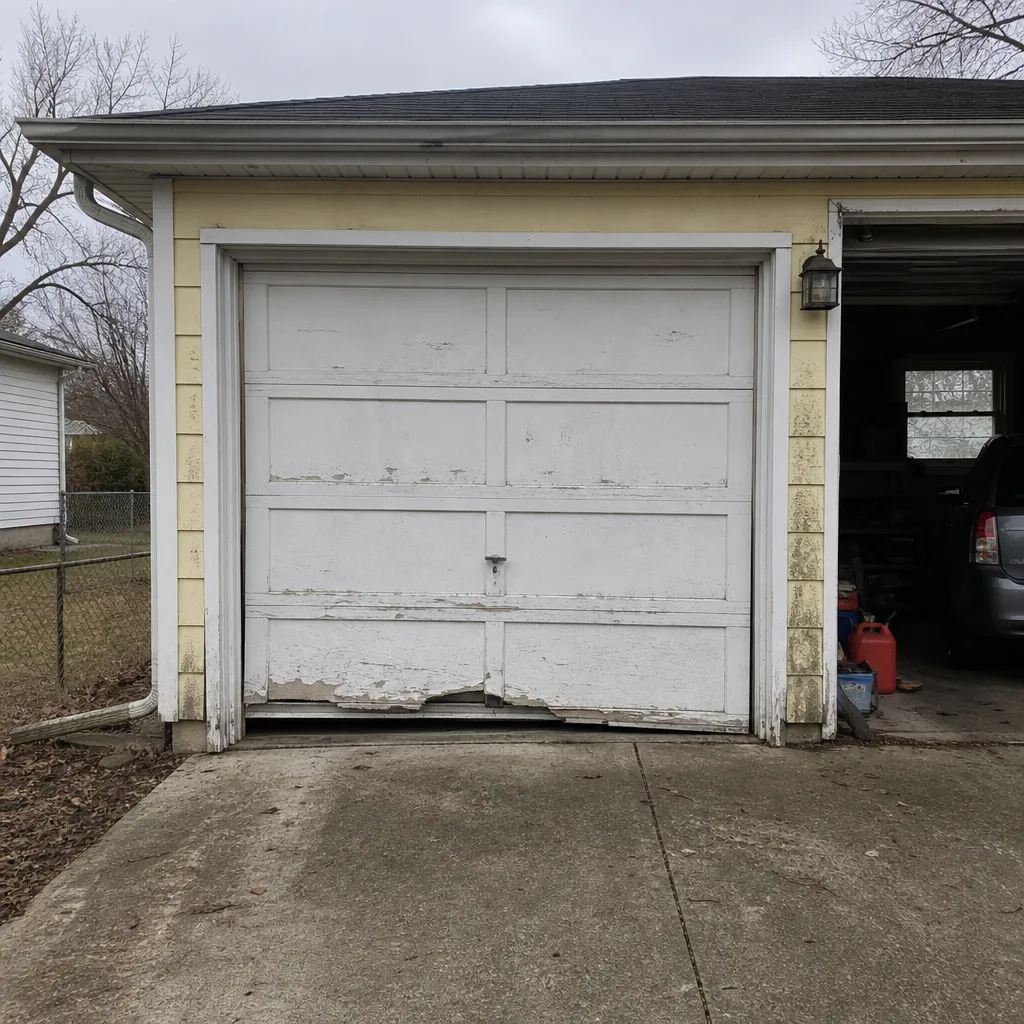 Before
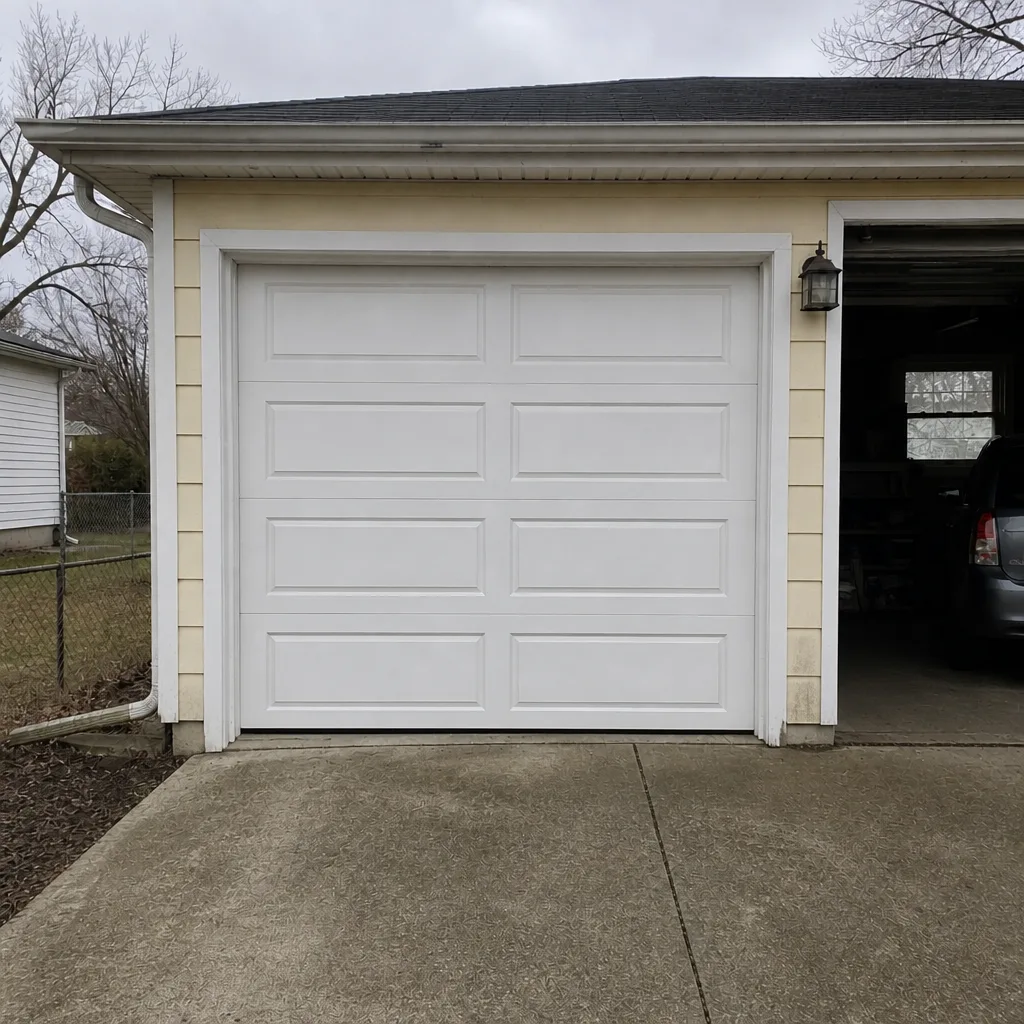 After
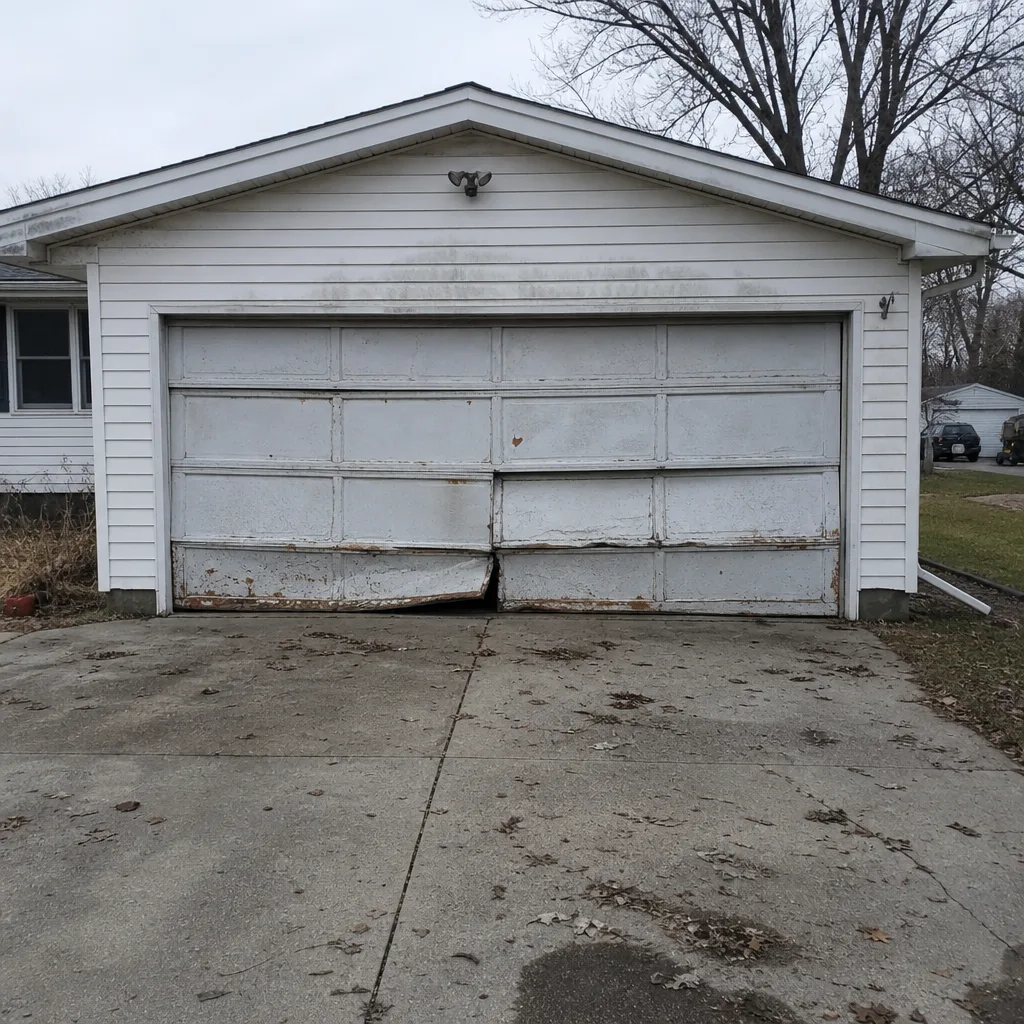 Before
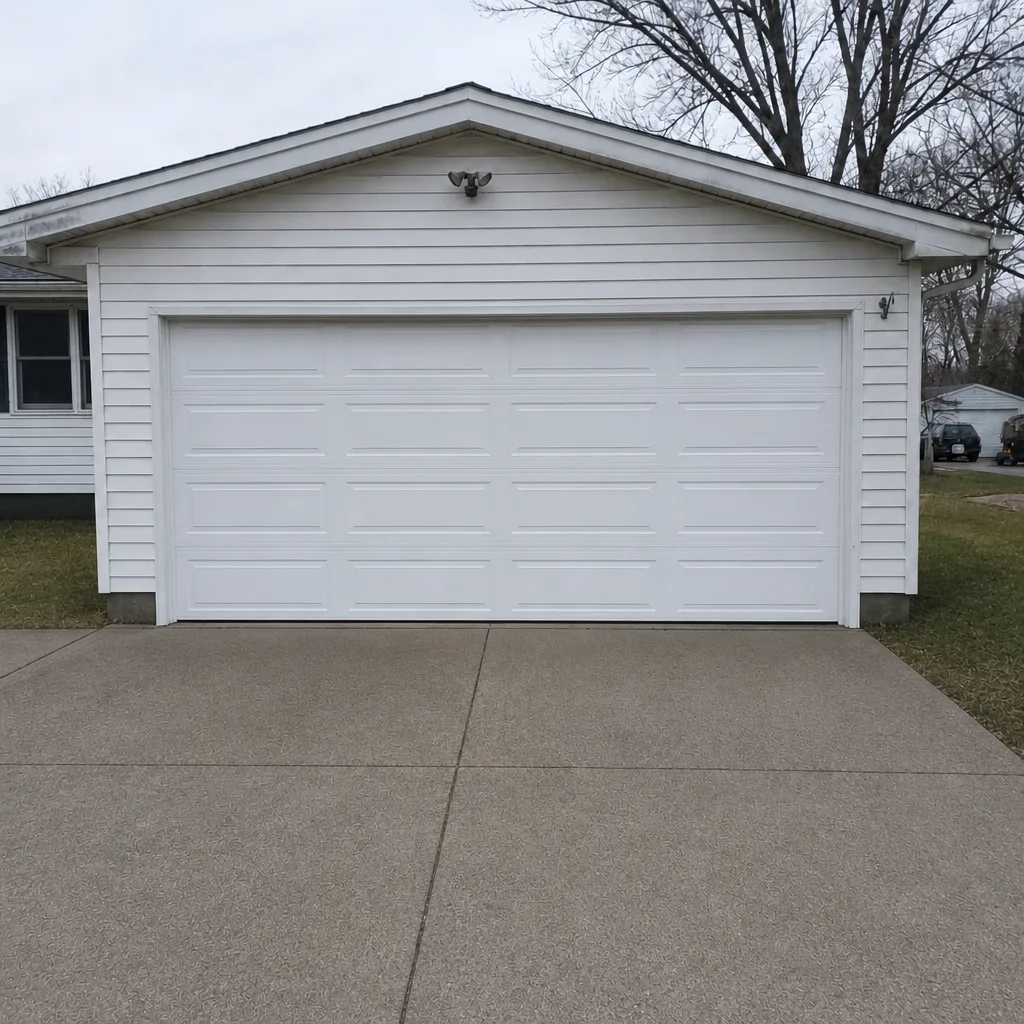 After